Owning these charming rodents comes with a unique challenge: managing up to 100 daily droppings per pet. For multi-pig households, this natural bodily function quickly turns cage maintenance into a full-time chore. The good news? Many owners report success with structured bathroom habit development.
These intelligent animals often show natural preferences for specific elimination areas. By observing where your furry friend typically relieves itself, you can strategically place absorbent bedding zones. Consistency proves crucial – research shows repeated reinforcement helps establish routines over several weeks.
While not all individuals master perfect bathroom etiquette, even partial progress makes a difference. Reduced waste dispersion means less frequent full-cage cleanings and lower bedding expenses. The secret lies in working with your pet’s instincts rather than against them.
Patience remains essential throughout the process. Celebrate small victories like repeated use of a designated area. With time and positive reinforcement, you’ll create a cleaner habitat that benefits both caretaker and animal.
Table of Contents
Understanding Your Guinea Pig’s Bathroom Habits

Observing your furry companion’s natural routines reveals patterns that simplify cage maintenance. Most small pets develop consistent elimination preferences, but their approaches vary dramatically between individuals.
Different Pooping Styles: Type 1 vs. Type 2
You’ll notice two distinct bathroom personalities emerge. Type 1 rodents select specific corners for waste, often returning to the same spots throughout the day. These organized creatures naturally limit messes to 2-3 areas, simplifying litter box placement.
Type 2 live by the “anywhere goes” philosophy, leaving trails of pellets wherever they roam. While challenging for training, this behavior helps identify favorite lounging zones that could become secondary litter areas.
What Your Piggies’ Droppings Tell You About Their Health
Daily poop checks serve as vital health reports. Healthy pellets maintain uniform shape and size – deviations often signal dietary issues. Watch for:
- Oval-shaped waste (normal) vs. misshapen lumps (concerning)
- Dark brown coloration (ideal) rather than pale or greenish hues
- Moist-but-firm texture – overly dry or sticky pellets need attention
Don’t panic if you spot soft cecotropes – these nutrient-rich droppings get re-eaten for proper digestion. However, uneaten mushy piles or bloody streaks warrant immediate veterinary consultation.
Can You Potty Train A Guinea Pig?

Transforming your pet’s habitat starts with smart bathroom habits. While not every furry friend becomes perfectly tidy, even basic litter training creates noticeable improvements for owners and animals alike.
The Advantages of Litter Training Your Piggies
Targeted waste management revolutionizes cage upkeep. Designated litter zones concentrate messes, letting you refresh specific areas instead of replacing all bedding daily. This approach slashes material costs by up to 40% for many owners.
Healthier living conditions emerge when soiled bedding gets removed promptly. Respiratory risks drop dramatically as ammonia from urine breaks down faster in contained litter areas. Your pets enjoy cleaner paws and reduced bacterial contact.
Time savings add up quickly with established routines. Spot-cleaning litter boxes takes minutes compared to full cage scrubs. You’ll spend more time bonding with your companions and less on tedious maintenance.
Success varies, but partial training still delivers benefits. One owner reported: “Even with 50% accuracy, I halved my weekly cleanup time.” Celebrate progress rather than perfection – every properly placed dropping matters.
Step-by-Step Guide to Litter Training Your Guinea Pig

Building consistent bathroom routines requires patience and strategic planning. Start by tracking your pet’s natural elimination patterns over 2-3 days to identify preferred spots.
Newpaper Foundations
Cover high-traffic zones with newspaper sheets. Remove one piece every few weeks to shrink the bathroom area gradually. This slow reduction helps pets adjust without stress.
| Phase | Action | Benefit |
|---|---|---|
| Week 1-2 | Cover all preferred spots | Establishes waste containment |
| Week 3-4 | Remove 25% of papers | Encourages focus on remaining areas |
| Week 5+ | Maintain 1-2 key locations | Prepares for litter box transition |
Litter Box Transition Tactics
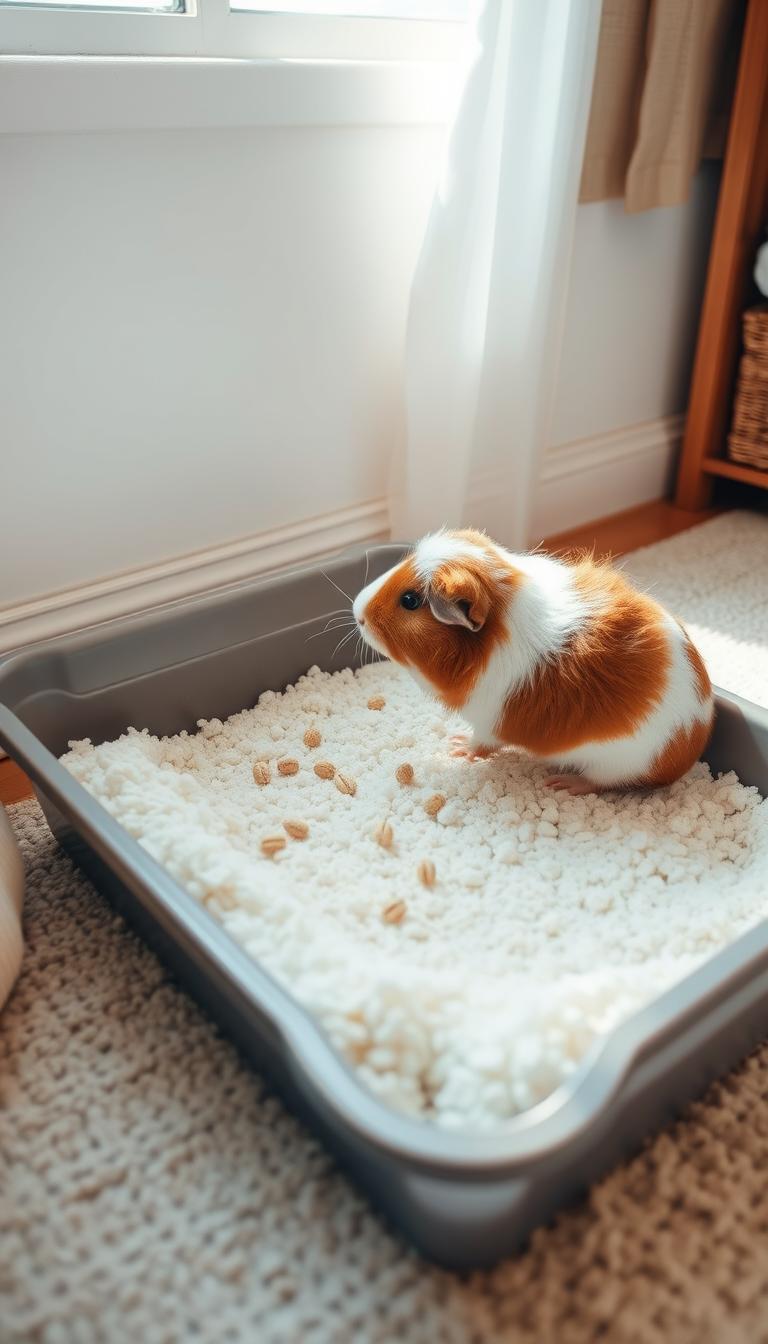
Place soiled newspaper in the new tray to transfer familiar scents. Choose boxes with low sides for easy access – 6” length minimum lets pets move around comfortably.
Jump Training Techniques
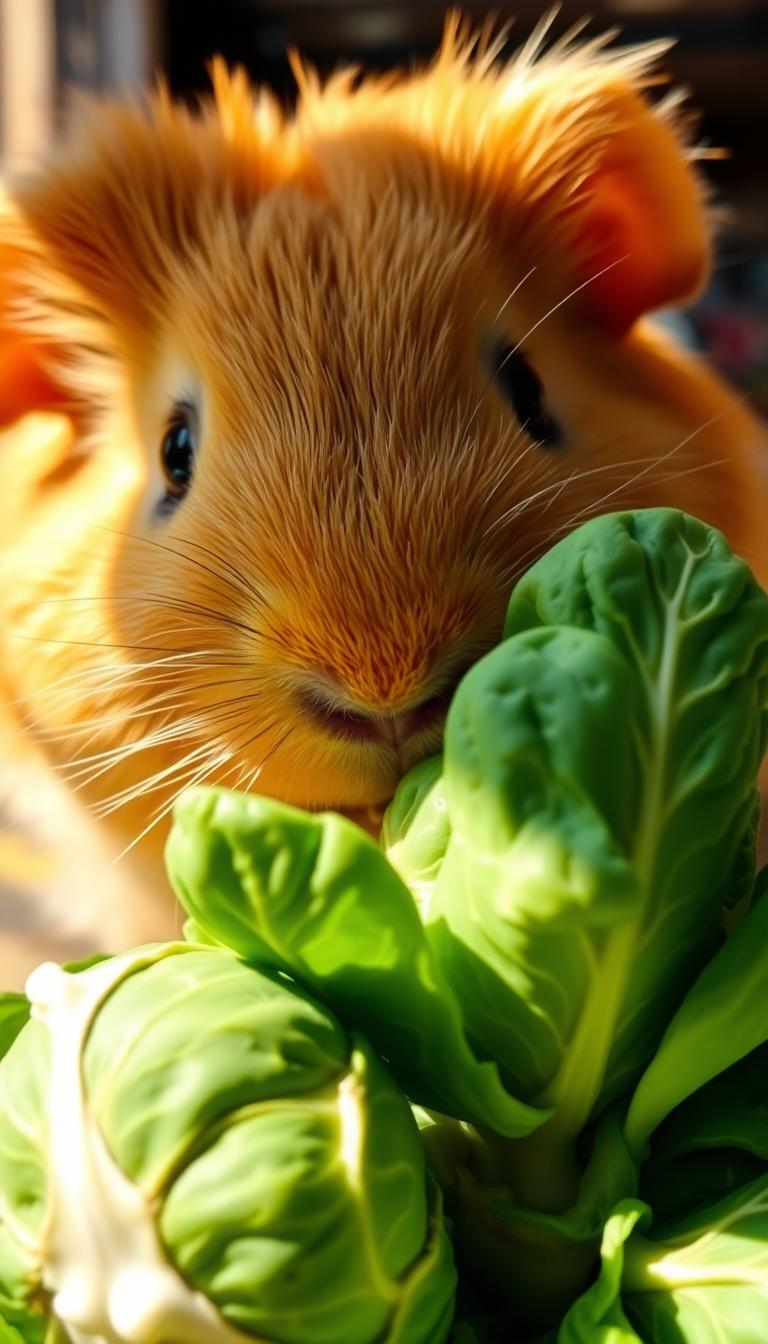
Use veggie treats to lure pets into the tray. Most learn to hop in within 7-10 days. For older animals, attach a ramp using cardboard and non-slip tape.
Consistency proves crucial – 85% of owners see progress within 3 weeks. One enthusiast shared: “Using their favorite hay as tray bedding doubled our success rate!”
Creating a Guinea Pig-Friendly Litter Area

Designing an effective bathroom zone starts with smart equipment choices and spatial awareness. The right setup encourages natural habits while keeping your pet’s space tidy and odor-controlled.
Selecting the Right Litter Box and Materials
Rabbit litter trays work best due to their spacious design. Look for boxes measuring at least 12″x8″ with 3-inch walls. For budget-friendly options, modify cat trays by cutting a 4-inch entry notch on one side.
| Type | Features | Best For |
|---|---|---|
| Plastic trays | Easy to clean, durable | Long-term use |
| Paper-based | Biodegradable, chew-safe | Younger pets |
| Corner units | Space-saving design | Small cages |
Use newspaper strips in the litter box and soft fleece elsewhere. This texture contrast helps pets distinguish bathroom areas from play zones. Avoid clumping bedding – it poses ingestion risks.
Strategic Placement of Litter Boxes Around the Hutch
Position boxes in corner spaces near food stations or hideouts. Most pets prefer discreet locations for elimination. In larger cages, place multiple trays 18-24 inches apart.
Boost appeal by putting litter boxes under hay racks. The combination creates a natural restroom attraction – pets often munch while relieving themselves. Replace soiled hay daily to maintain freshness.
One owner found success by “placing trays where my pair already napped 80% of the time.” Observe your pet’s favorite spots before finalizing locations. Adjustments might be needed as habits evolve.
Managing Challenges and Accidents

Even the most dedicated pet owners face messy moments during bathroom habit development. A few strategic adjustments keep training on track while maintaining a stress-free environment for everyone involved.
Handling Accidents and Preventing Messes
Scattered droppings happen – especially during early training phases. When finding poop everywhere, calmly transfer stray pellets to the litter box while your pets watch. This visual reinforcement helps connect the dots between actions and locations.
Multi-pig households often need extra maintenance. Clean trays three times daily if housing many piggies. One owner noted: “Scooping after breakfast, lunch, and dinner keeps our hutch fresh.” Pair this routine with odor-neutralizing bedding for best results.
Adapting Training for Older or Special Needs Piggies
Senior pets or those with mobility issues may struggle with standard setups. Try low-entry boxes (under 2″ tall) near favorite resting spots. For arthritic animals, line pathways to the bathroom area with soft fleece strips.
Progress might take 6-8 weeks instead of the typical 3-4. Celebrate small wins like using the tray once daily. Guinea pigs with chronic conditions often benefit from multiple hutch run stations – place identical boxes in different zones for easy access.
Remember: Partial success still reduces cleanup. Even 30% fewer stray pellets means noticeable improvements. Stay patient, keep treats handy, and let your pets set the pace.
Maximizing Health, Savings, and Cleanliness
Maintaining a fresh environment for small pets creates lasting benefits beyond basic cleanliness. Strategic litter practices transform cage care from constant chore to manageable routine while protecting your companion’s well-being.
Benefits of a Cleaner Hutch and Better Hygiene
Concentrated waste zones dramatically reduce bacterial spread. Wet bedding often harbors harmful microbes – contained litter areas lower infection risks by 60% according to rodent care studies. Pair absorbent newspaper in corner trays with soft fleece elsewhere for optimal sanitation.
Respiratory health improves when ammonia levels stay controlled. One owner shared: “After switching to targeted cleaning, our pair stopped sneezing completely.” Regular hay replacement in litter zones prevents mold growth – crucial for sensitive guinea pigs.
How Litter Training Saves You Time and Money
Focusing cleanup efforts cuts daily maintenance by half. Instead of replacing all bedding, you’ll refresh specific trays – a budget-friendly approach that slashes monthly supply costs.
| Aspect | Traditional Setup | Litter-Trained |
|---|---|---|
| Bedding Replacement | Full cage every 2 days | Spot changes daily |
| Monthly Cost | $35-$50 | $12-$18 |
| Cleaning Time | 45 minutes/day | 15 minutes/day |
Combine smart litter placement with quality cage accessories for maximum efficiency. Stash extra hay near bathroom zones – most pets graze while eliminating waste naturally.
Over six months, these practices save enough for premium food or vet visits. As one enthusiast noted: “We redirected savings into organic veggies – our piggies’ coats became shinier within weeks!”
Wrapping Up Your Guinea Pig Potty Training Journey
Mastering your small pet’s bathroom habits brings rewarding results for both owner and animal. Success hinges on patience and celebrating progress – whether they hit the litter area consistently or occasionally. Remember: forced training backfires, while veggie rewards build positive associations.
Keep litter trays fresh with daily cleanings. Piggies avoid soiled zones, so scoop waste morning and night. Place multiple low-entry boxes in corners near favorite hideouts or feeding stations for best results.
Strategic hay tray placement boosts success rates. Position racks above bathroom zones since pets often nibble while relieving themselves. Use fleece bedding elsewhere to create clear activity zones.
This journey pays off through easier cleanups and healthier habitats. With time, you’ll spend less on bedding and more time bonding. Every properly placed pellet means progress – your furry friends are learning!


